Image to Dots

Translate a photograph into dots that follow its light and shadow. Adjust density, size and shape, choose source colors or one ink, then export a PNG or editable vector SVG for your next design.

Tool view
Image to Dots · Preview
Made with this toolExample preview

Light in dots

White halftone dots trace the transparent flower on black. Load it to adjust the settings, or upload your own.

Processed on your device. Plain text uses a monospace font; PNG keeps the chosen colors. SVG uses editable vector dots.

Start with an example

Real outputs made with this tool. Load a sample, then make it yours.

Click to load · fully editable
Optional paid enhancements

Basic tools and their normal exports stay free. Subscription effects use no credits; AI rendering uses 1, 2 or 3 credits per attempt.

Premium effects

Basic, Pro and Max include all six effects. No credits are charged. Your free tools and original exports stay available.

Applies to a snapshot scaled to at most 1024 pixels per side and 1 MiB. Video and animation use the current frame. Text remains unchanged.

Create an artwork above to use premium effects.

AI artwork rendering · 1–3 credits

Finish your current artwork with AI. All accounts can use credits; a subscription is optional. For animation and video, only the current frame is used.

This action uploads a bounded image of your current result to our AI service. Your original text, frames and source remain unchanged. A new render uses the displayed credit cost. Check your credit history for any adjustments after a failed generation.

Create or load an artwork first.

AI render1 credit

Let dots carry the light and shadow

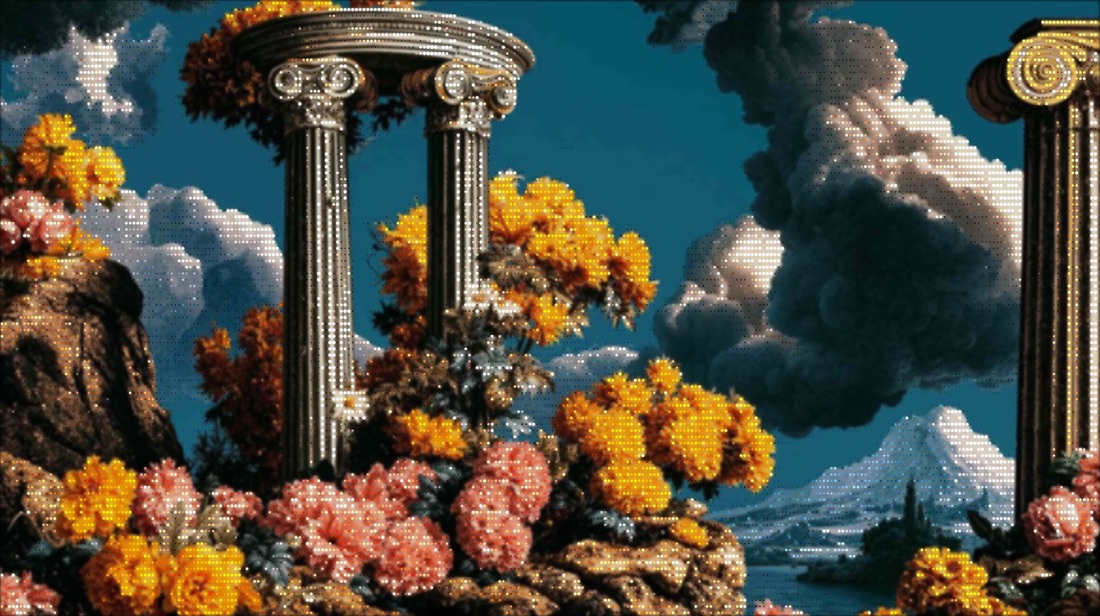
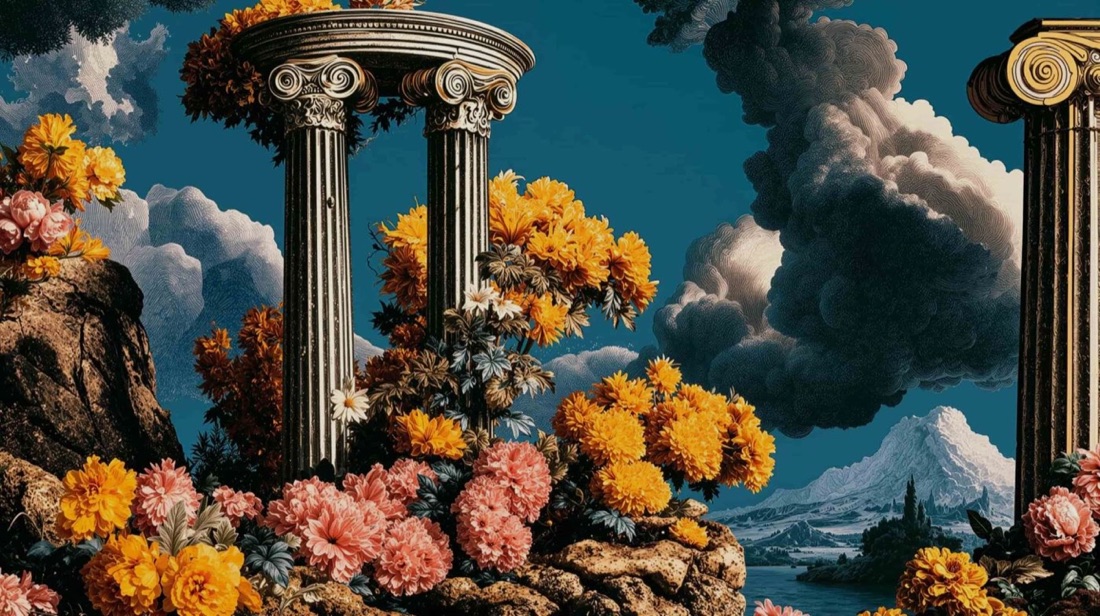
Each sampled region becomes a mark whose size reflects the source tone. Compare the picture and dot result while changing density and contrast, so the pattern adds texture without hiding the recognizable shape of your subject.

The same columns and foliage scene rendered with halftone dots
Original classical columns and colorful foliage scene
Original inputResult example

Make a dot image in three steps

Make dot art

Choose a source with clear tones

Upload a JPG, PNG, WebP or GIF image, or load an example. Look for a strong outline and enough light and dark separation to describe the subject with dots.

Adjust the grid and mark style

Choose columns and dot size, compare circles with squares, then set source colors or a single foreground color. Use brightness, contrast and inversion to refine the tonal pattern.

Compare the texture and export

Check the full picture and a close view of the dots. Download PNG for a finished image, or SVG to resize and edit shapes in a design app.

Build a pattern around the source picture

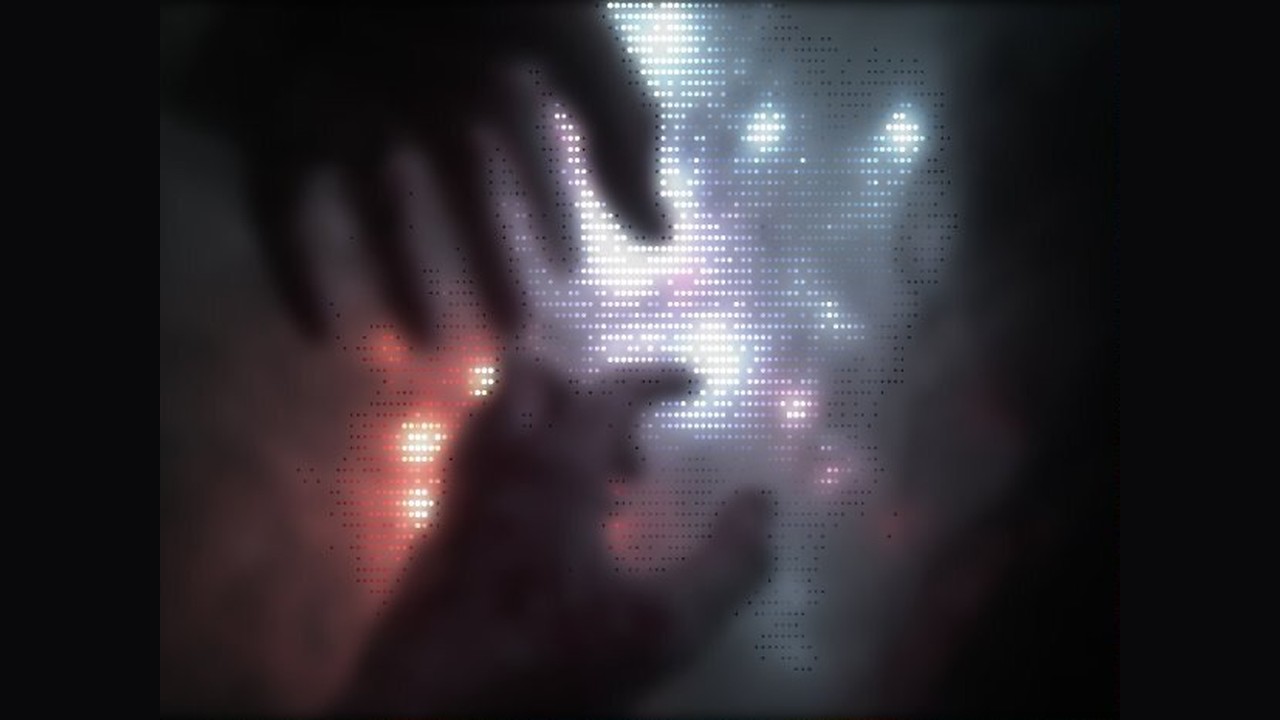
Hand and reflected light rendered with halftone dots

Choose density for the subject

Grid columns control how many sampled regions become marks. A coarse grid makes the dot pattern obvious, while a finer grid preserves smaller features. Compare the outline at the size where the result will appear.

Try this workflow
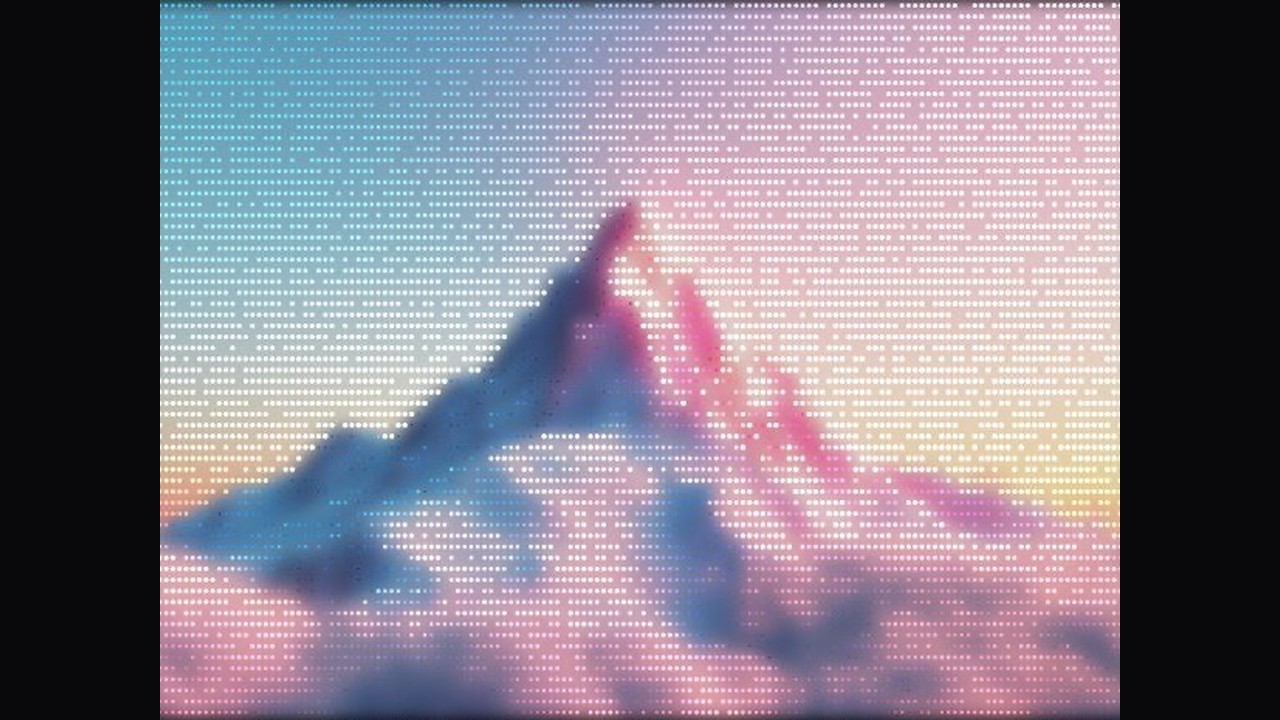
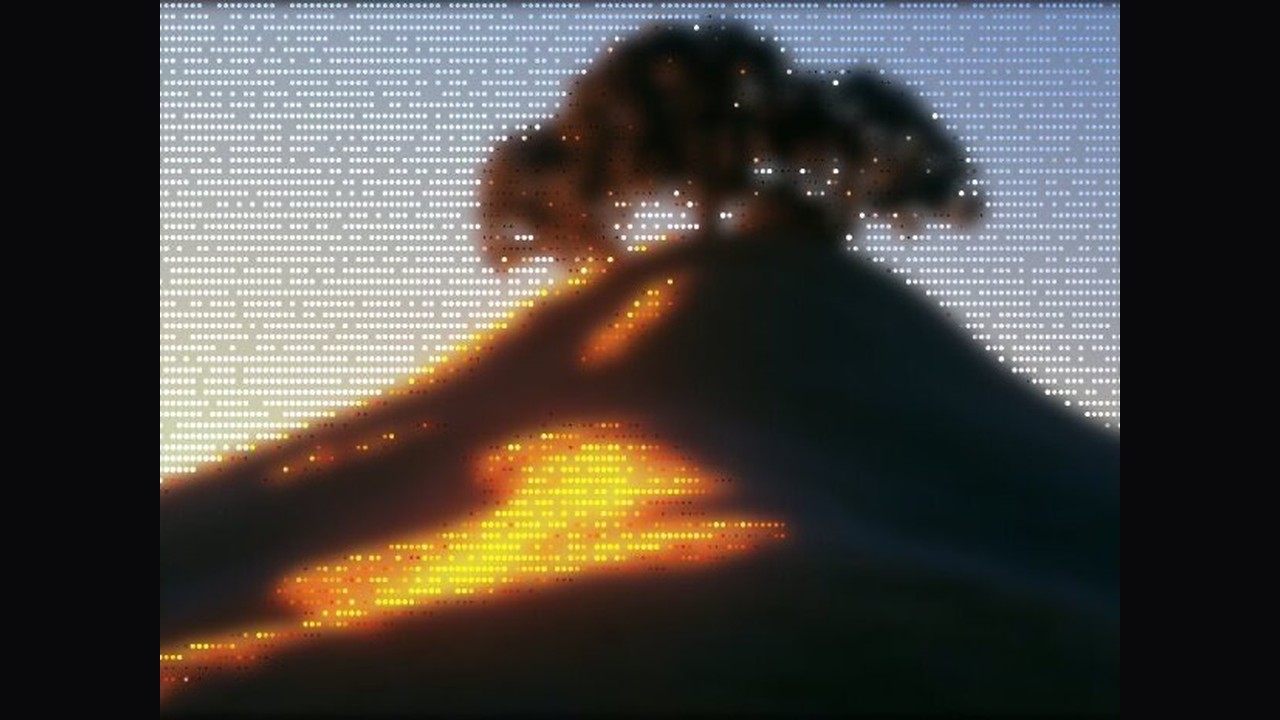
Pastel halftone mountain

Change how much space the dots occupy

Dot size adjusts each mark relative to its cell, changing how open or dense the texture feels. Smaller marks leave more breathing room, while larger marks create stronger visual weight across the same sampled picture.

Try this workflow
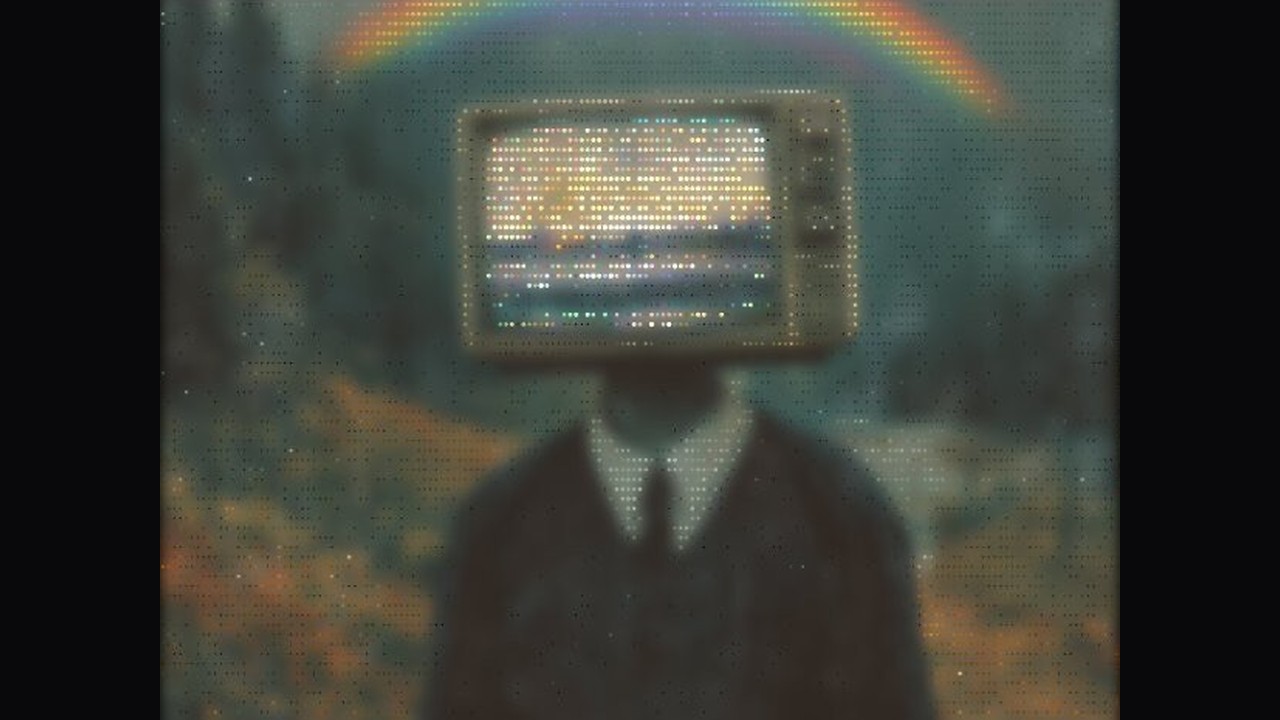
Television-headed portrait in colored dots

Compare circular and square marks

Circles create a familiar dot texture; squares give the same tonal map a more geometric surface. Try both on one source, especially around fine edges, to choose the shape that supports the subject and composition.

Try this workflow
Sunlit tree in a halftone landscape

Keep source colors or use one ink

Source color mode carries sampled colors into the marks, while a single foreground color emphasizes the pattern and light and shadow. Choose a contrasting background so sparse regions and denser areas remain easy to distinguish.

Try this workflow
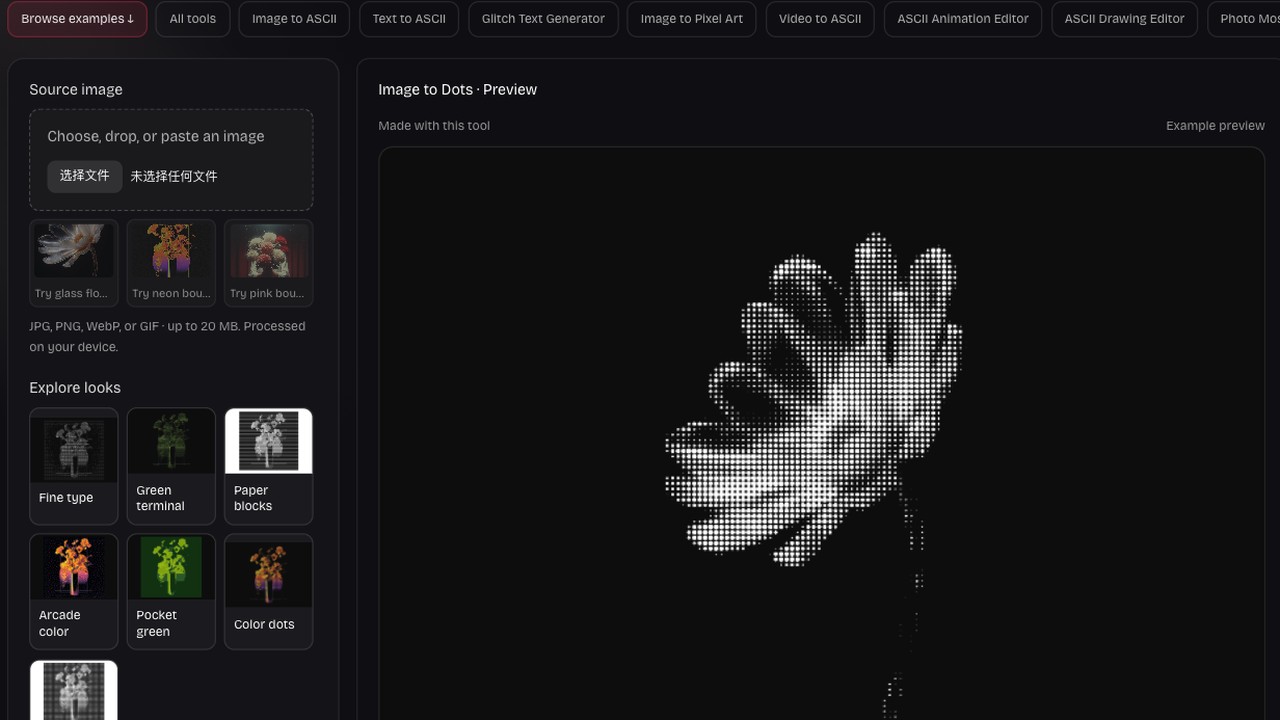
Implemented dots workspace controls and preview

Tune the tonal balance and inversion

Brightness and contrast control the tone used to size each mark, while inversion reverses the density relationship. Compare these settings when important areas become too sparse or merge, judging the subject rather than only the pattern.

Try this workflow
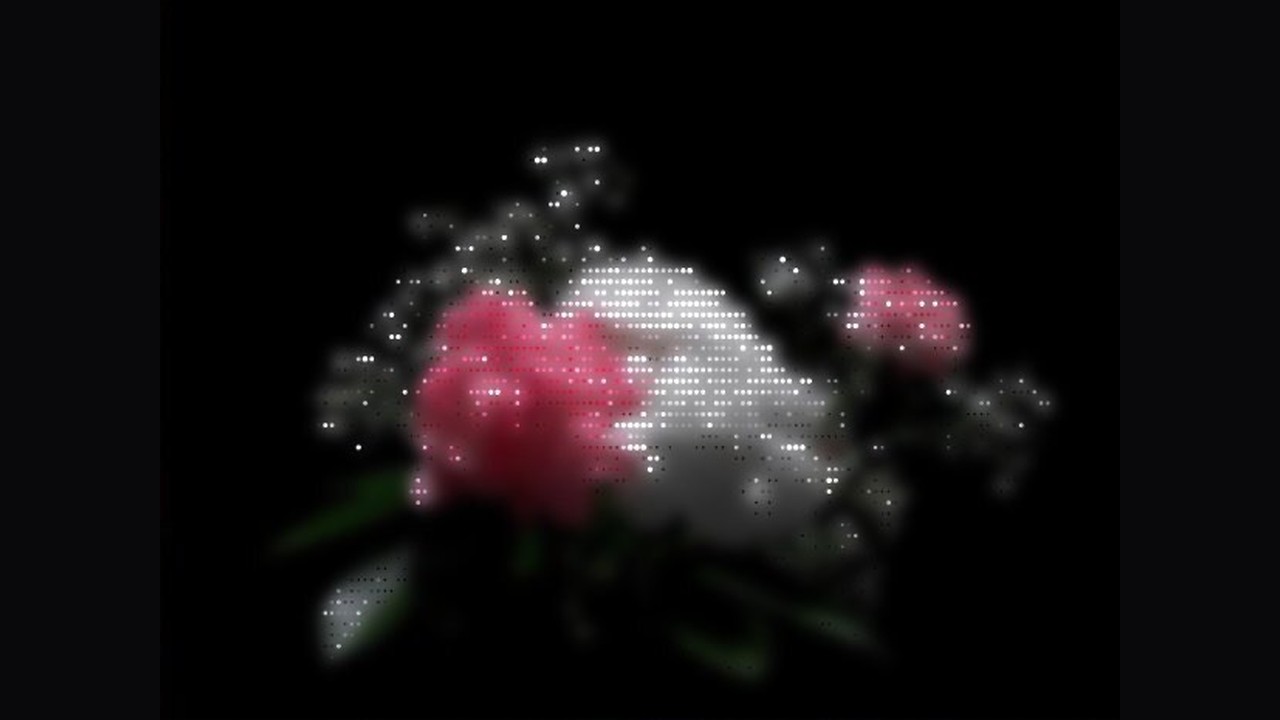
Flowers rendered as bright dots on a dark background

Choose a finished image or editable shapes

PNG captures the current dot pattern as an image. SVG exports real circles or rectangles with matching colors, sizes and transparency, so you can scale the artwork or edit individual marks in a compatible vector application.

Try this workflow

Keep the subject readable inside the pattern

A dot treatment works when the pattern and picture support each other. Adjustable density, color and mark shape help you preserve the subject while choosing how prominently the texture appears in the final composition.

An intentional dot texture

Use a coarser or finer grid according to the effect you want. Check the complete picture before concentrating on individual marks.

Two shapes to compare

Choose circles for a rounded texture or squares for geometric edges. Judge the shape against your source rather than the setting name alone.

Dark tree silhouette with dot texture

Color with a clear purpose

Retain source colors when they carry the image’s identity, or choose one foreground color when tone and texture should lead the composition.

An export for your layout

Use PNG for simple sharing or SVG for scalable, editable dot shapes. Check the background against your design so the marks stay readable.

Questions before you start

ASCII Art Generator

Give your picture a deliberate dot pattern

Choose a source, balance detail with texture and export a dot image that suits your design.

Make dot art